This is a guest post by Mathilde Collin from Front. Be sure to check out the Front Blog for more tips on managing team emails.
Transparency helps you move fast. Information isn’t siloed — it’s all readily available for the taking. You don’t need to ask questions, forward information about a customer, or attend a meeting to know what’s going on. Instead, anyone can get access to the information they need without having to jump through hoops to get it.
However, extending this transparency to email is tricky. It was initially designed for 1:1 conversation but has been adapted to team use over time. You can loop in the people you need on a single email with BCC or CC, but it’s hard to make email efficiently accessible to an entire team. At the same time, within every inbox is a goldmine of customer interactions, company history, and internal discussions — so not sharing that is depriving your team of valuable information.
Thanks to new tools, automation, and a bit of organization, you can turn your outdated email inbox into a fully transparent platform that will serve as a resource for your entire team. Here’s how to do that in three steps.
1. Pick the right tools
Email is set up to be handled by one person at a time, and you forward the chain when you want someone to take over. That might work fine — until they’re out sick one day and an email falls through the cracks. Or if the recipient responds in a different email thread to you instead of to your colleague. Traditional email is setting you up for failure. It’s not conducive for the modern, collaborative workplace, so we have to make some adjustments. We have to make that inbox shareable.
Start by creating an email account on your preferred platform (Gmail, Office 365, etc.) From here, there are two ways to turn a personal inbox into a shared team email inbox:
- Give every team member access to one inbox. Most email providers already allow for shared inboxes to some degree. In Gmail, that means setting up a Google Group and selecting the “collaborative inbox” option. In Office 365, that means going to Office 365 admin center, navigating to “Groups,” then “Shared Mailboxes,” and finally “Add a mailbox.” From there, you can add members to your shared inbox.
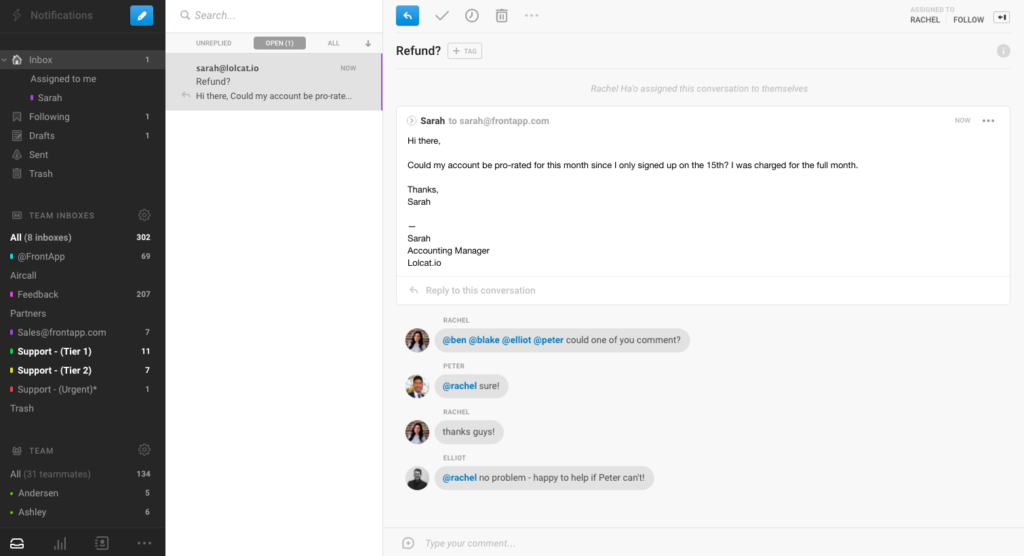
- Use a third-party app to organize your shared inbox. Front was built from the ground up to improve the shared inbox experience. Connect all of your company’s messaging channels — team email addresses and groups, SMS, Facebook Messenger, Twitter, and more — and everything becomes accessible to your whole team from one dashboard. You can set up rules to automatically assign new messages, manually assign and re-assign them amongst your team, and collaborate on responses through in-line commenting and shared drafts.

Shared inboxes only work when they’re done right. After you set up your tooling, it is integral that you set up a workflow and some system of organization to make sure your team isn’t overwhelmed by everyone’s email all in one place.
2. Delegate automatically
In the past, those contact@, billing@, or support@ company email addresses often meant that there were 5, 10, or even more team members looking through the same emails over and over again. Even though email groups are theoretically transparent, it’s impossible to figure out who’s responsible for what amid the chaos. The same emails get answered multiple times while others fall through the cracks.
Use automation to make sure that emails get in front of the right people and don’t use up everyone’s time. Here are different filters you can apply to keep your shared inbox set up manageable.
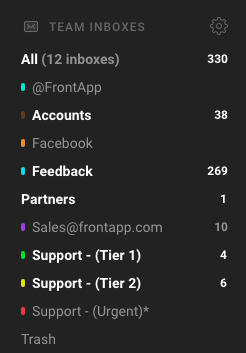
- Inboxes. This might seem counterintuitive, but sometimes it makes sense to have separate shared inboxes or email groups for different parts of the team. Route emails quickly to the right part of a large team while keeping permissions open so that anyone on the rest of the team can find them if they need to.

- Keywords. Automatically assign messages to people or to folders based on keywords found in the body or subject line of the email. You can have any emails with the words “packages,” “schedule,” assigned to Joe the office manager, and any emails that have the word “price,” “cost,” or “sign up,” assigned directly to a sales rep.
- Time sent. The most reliable way to reduce response times is to have someone on firefighting duty all day — as in, answering email questions as they come in. You can give different people firefighting duty at different times using rules, so no team member has to bear the brunt of it.

- Internal emails. If you use email for internal communication with your team, filter out emails from teammates to a specific “internal” folder. Set them up to skip the inbox based on the sender’s address, so you can prioritize urgent customer messages.
- CCs and BCCs. When you have a shared inbox, there’s less of a need to CC — but it will still come up now and again. Since these are usually non-urgent, it’s best to filter these out and check them on your own time.
Email management is often synonymous with attention management. If you don’t set up filters, you have no control over how you spend your time all day. But with the right filters, you can prioritize the urgent stuff, and file everything else away for later.
3. Turn your team email archive into a database
Transparent email makes onboarding a breeze. Your new team members have access to every support message ever sent and every customer’s support history, which enables them to work independently more quickly. But if your email archive isn’t organized, it’s not that useful. They don’t know what to search for in the search bar and can’t tap into the wealth of support resources that your shared inbox contains.
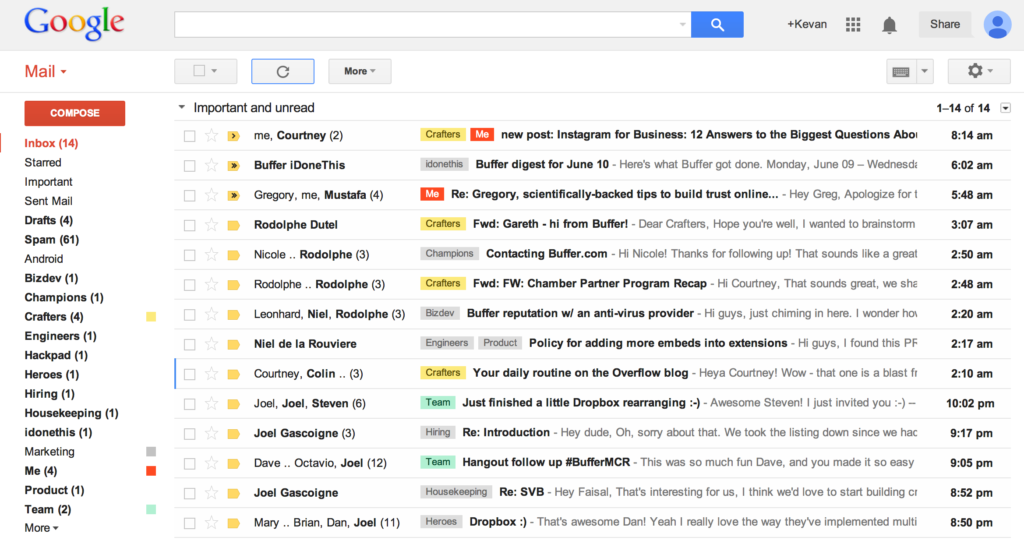
Set up a system of tags or labels to classify the emails in your archive. This will leave you with a growing repository of problems that have been addressed, eliminating the need for new team members to go on a scavenger hunt for problems that have been solved many times over by their colleagues.
Take a look at how the team at Buffer organizes their inbox:

There’s no silver bullet for labeling and tagging structures, but here are some questions to guide you through picking the right one for your team:
- What information is needed to answer most of your emails? Is it useful to look at emails about the same type of problem, or is it more useful to look at past email exchanges with the customer? For the former, consider tagging by question type, and for the latter, consider tagging by customer name.
- Do customer requests range in magnitude? Are some easy fixes while others take days or months to address? Consider labeling by priority level or by time estimate for how long it’ll take to find a fix.
- Are your exchanges date-sensitive? Is it useful for you to see every Monday’s email exchange, or every July’s? For some departments, such as accounting, labels based on months make the most sense.
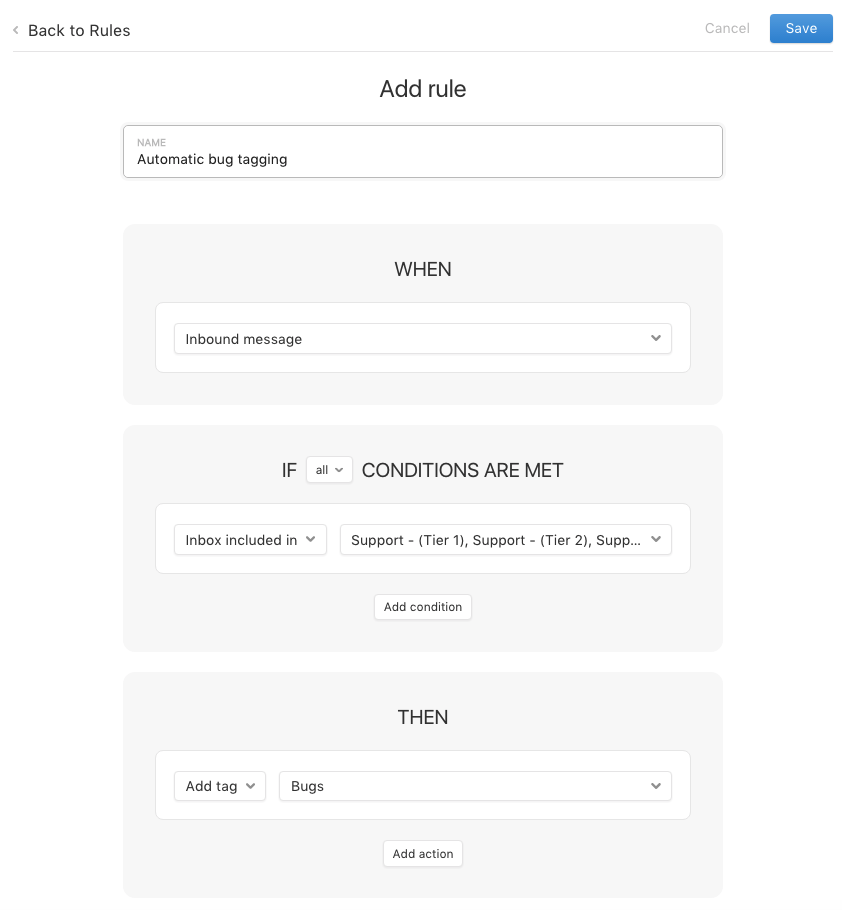
The best thing about labels and tags is that they’re not mutually exclusive. You can have a number of filing systems — ordered by date, magnitude, and category — that can work for different teams. Once you’ve come up with a labeling structure, you can add a rule that automatically applies them based on keywords.

It’s more than just email
It might seem like we’re overthinking things — aren’t open office spaces and office-wide chat rooms enough to facilitate transparency?
We’ve learned that transparency is an all-or-nothing culture. Information will always find the last nooks and crannies in your organization to get lost in. Pushing for transparency as a means for greater productivity extends to your inbox.
